Setting Up Hugo + Cloudflare Pages

Introduction
This post shows you how to set up a new website using Hugo (for building the site) and Cloudflare Pages (for hosting the site), based on my experience setting up this blog. I chose Hugo because it’s an open-source generator that builds static pages written in Markdown, and I chose Cloudflare Pages because it’s fast and super easy to set up, hosting your site at your_name.pages.dev or a custom domain of your choosing. Both Hugo and Cloudflare Pages are free to use.
Hugo Setup
The first step is to install Hugo, and I found it easiest to use Homebrew on Mac OS:
brew install hugo
Verify your installation by checking its version:
hugo version
Using the Terminal, navigate to the directory that you want your site to be located in. Run this command to create a new Hugo site in a folder named blog:
hugo new site blog
The next step is to choose a blog theme. Go to Hugo Themes and pick something that looks good. I’m using a theme called LoveIt (demo). Once you’ve picked one, clone the Git repository for the theme:
git clone https://github.com/dillonzq/LoveIt.git themes/LoveIt
The theme should be located at blog/themes/LoveIt.
Now let’s take care of some basic configuration. Go to your blog’s root directory and locate config.toml. Edit that file to specify your website URL (if you know it already), the default theme to use for building the site, your website title, and preferred language:
baseURL = "https://www.nickersonj.com/"
title = "Julia Nickerson's Blog"

languageCode = "en-us"
languageName = "English"

theme = "LoveIt"
I recommend checking your theme’s documentation to see what additional configuration you can add to config.toml to customize your site. You may also want to edit the CSS files in your theme to modify colors, fonts, and styling.
Create some new content to see how Hugo works. Run this command to create a new post with basic header data:
hugo new posts/setting-up-hugo.md
As you can see, all posts end in the Markdown extension .md. The post will be located in the content/posts directory. Open up the file and edit the title as you see fit. You can even start adding some content, if you already know what you want to write. Note that all posts and pages are created as drafts by default, so you should set draft: false in the header when your post is written and ready to be published.
In addition to blog posts, you can create an About page:
hugo new about.md
The About page should be located in your content directory. In general, posts should be located in content/posts, and pages should be located in content.
If you’re interested in creating blog posts from Jupyter Notebooks, check out the next section.
Insert images using Markdown or Hugo’s built-in shortcode. First, place an image in your static directory.
Include the image in a blog post using Markdown:

Note how the image is referenced with a leading slash; the static directory sits at the root of the generated site.
Or use Hugo’s built-in shortcode:
{{< figure src="/setting-up-hugo/image.png" alt="" caption="" height=200 >}}
Run the Hugo server to launch your website locally in a development environment. Since your only content is a draft, use the -D parameter in the command to enable drafts:
hugo server -D
Then navigate to http://localhost:1313/ to view your new website! If you edit or add new content, the browser will automatically refresh to show new changes.
Build your site when you’re ready to generate static HTML pages for production:
hugo
This should be fast — my build took 84 ms. You can find all of the static content and assets for your website in the public directory.
The next step is to host your content on Cloudflare Pages; go to that section now to skip the next section on Jupyter Notebook conversions.
Creating Content From Jupyter Notebooks
The basis for my blog posts can originate from my work done in online Jupyter-like notebooks, which are interactive environments for code experimentation and documentation. nbconvert can convert Jupyter notebooks to Markdown so that they are in a Hugo blog format, allowing for a convenient starting point rather than writing a blog post from scratch.
Install nbconvert using pip in a terminal:
pip install nbconvert
Convert a notebook to Markdown using this command:
jupyter nbconvert --to markdown notebook_name.ipynb
You should see a new file in your current directory called notebook_name.md. Rename the file as appropriate, and move it to your content/posts folder. Open up the file, and add header data to the top of the file (customizing the title and dates):
---
title: "Blog Post Title"
date: YYYY-MM-DD
lastmod: YYYY-MM-DD
draft: true
---
Now you have a blog post draft already pre-filled with documentation, code snippets, and outputs.
Hosting On Cloudflare Pages
Once you have some content ready to be published, you can move on to the hosting step. Make sure you’ve set draft: false in all of your prepared posts and pages, and that you’ve generated static HTML pages using the hugo command.
I had originally wanted to host my site on Github Pages but decided against it; Github Pages doesn’t allow a custom domain to be used with private repositories on their free plan. So I went with Cloudflare Pages instead.
The benefits of Cloudflare Pages include:
- extremely easy to deploy static websites like Hugo-built blogs
- free for an unlimited number of sites, unlimited requests, and unlimited bandwidth
- hosted on the fast Cloudflare network, and you don’t need to worry about spikes in traffic overloading your site
- easy to add a custom domain
- a Git repository is not required (but Git integration is available, if you want to use it)
- includes SSL and support for the latest web standards
To get started, the first step is to create a new Cloudflare account or sign in to your existing one. On the left-hand-side menu, click on “Pages”. You can either “Connect to Git” or “Direct Upload” depending on your preference.
I chose “Direct Upload.” Next, create a project name. Note that the project name will be the subdomain for your new site’s web address (e.g., project-name.pages.dev), which is important if you’re not connecting to a custom domain later.
To upload your project assets, select the public folder that Hugo built for you:
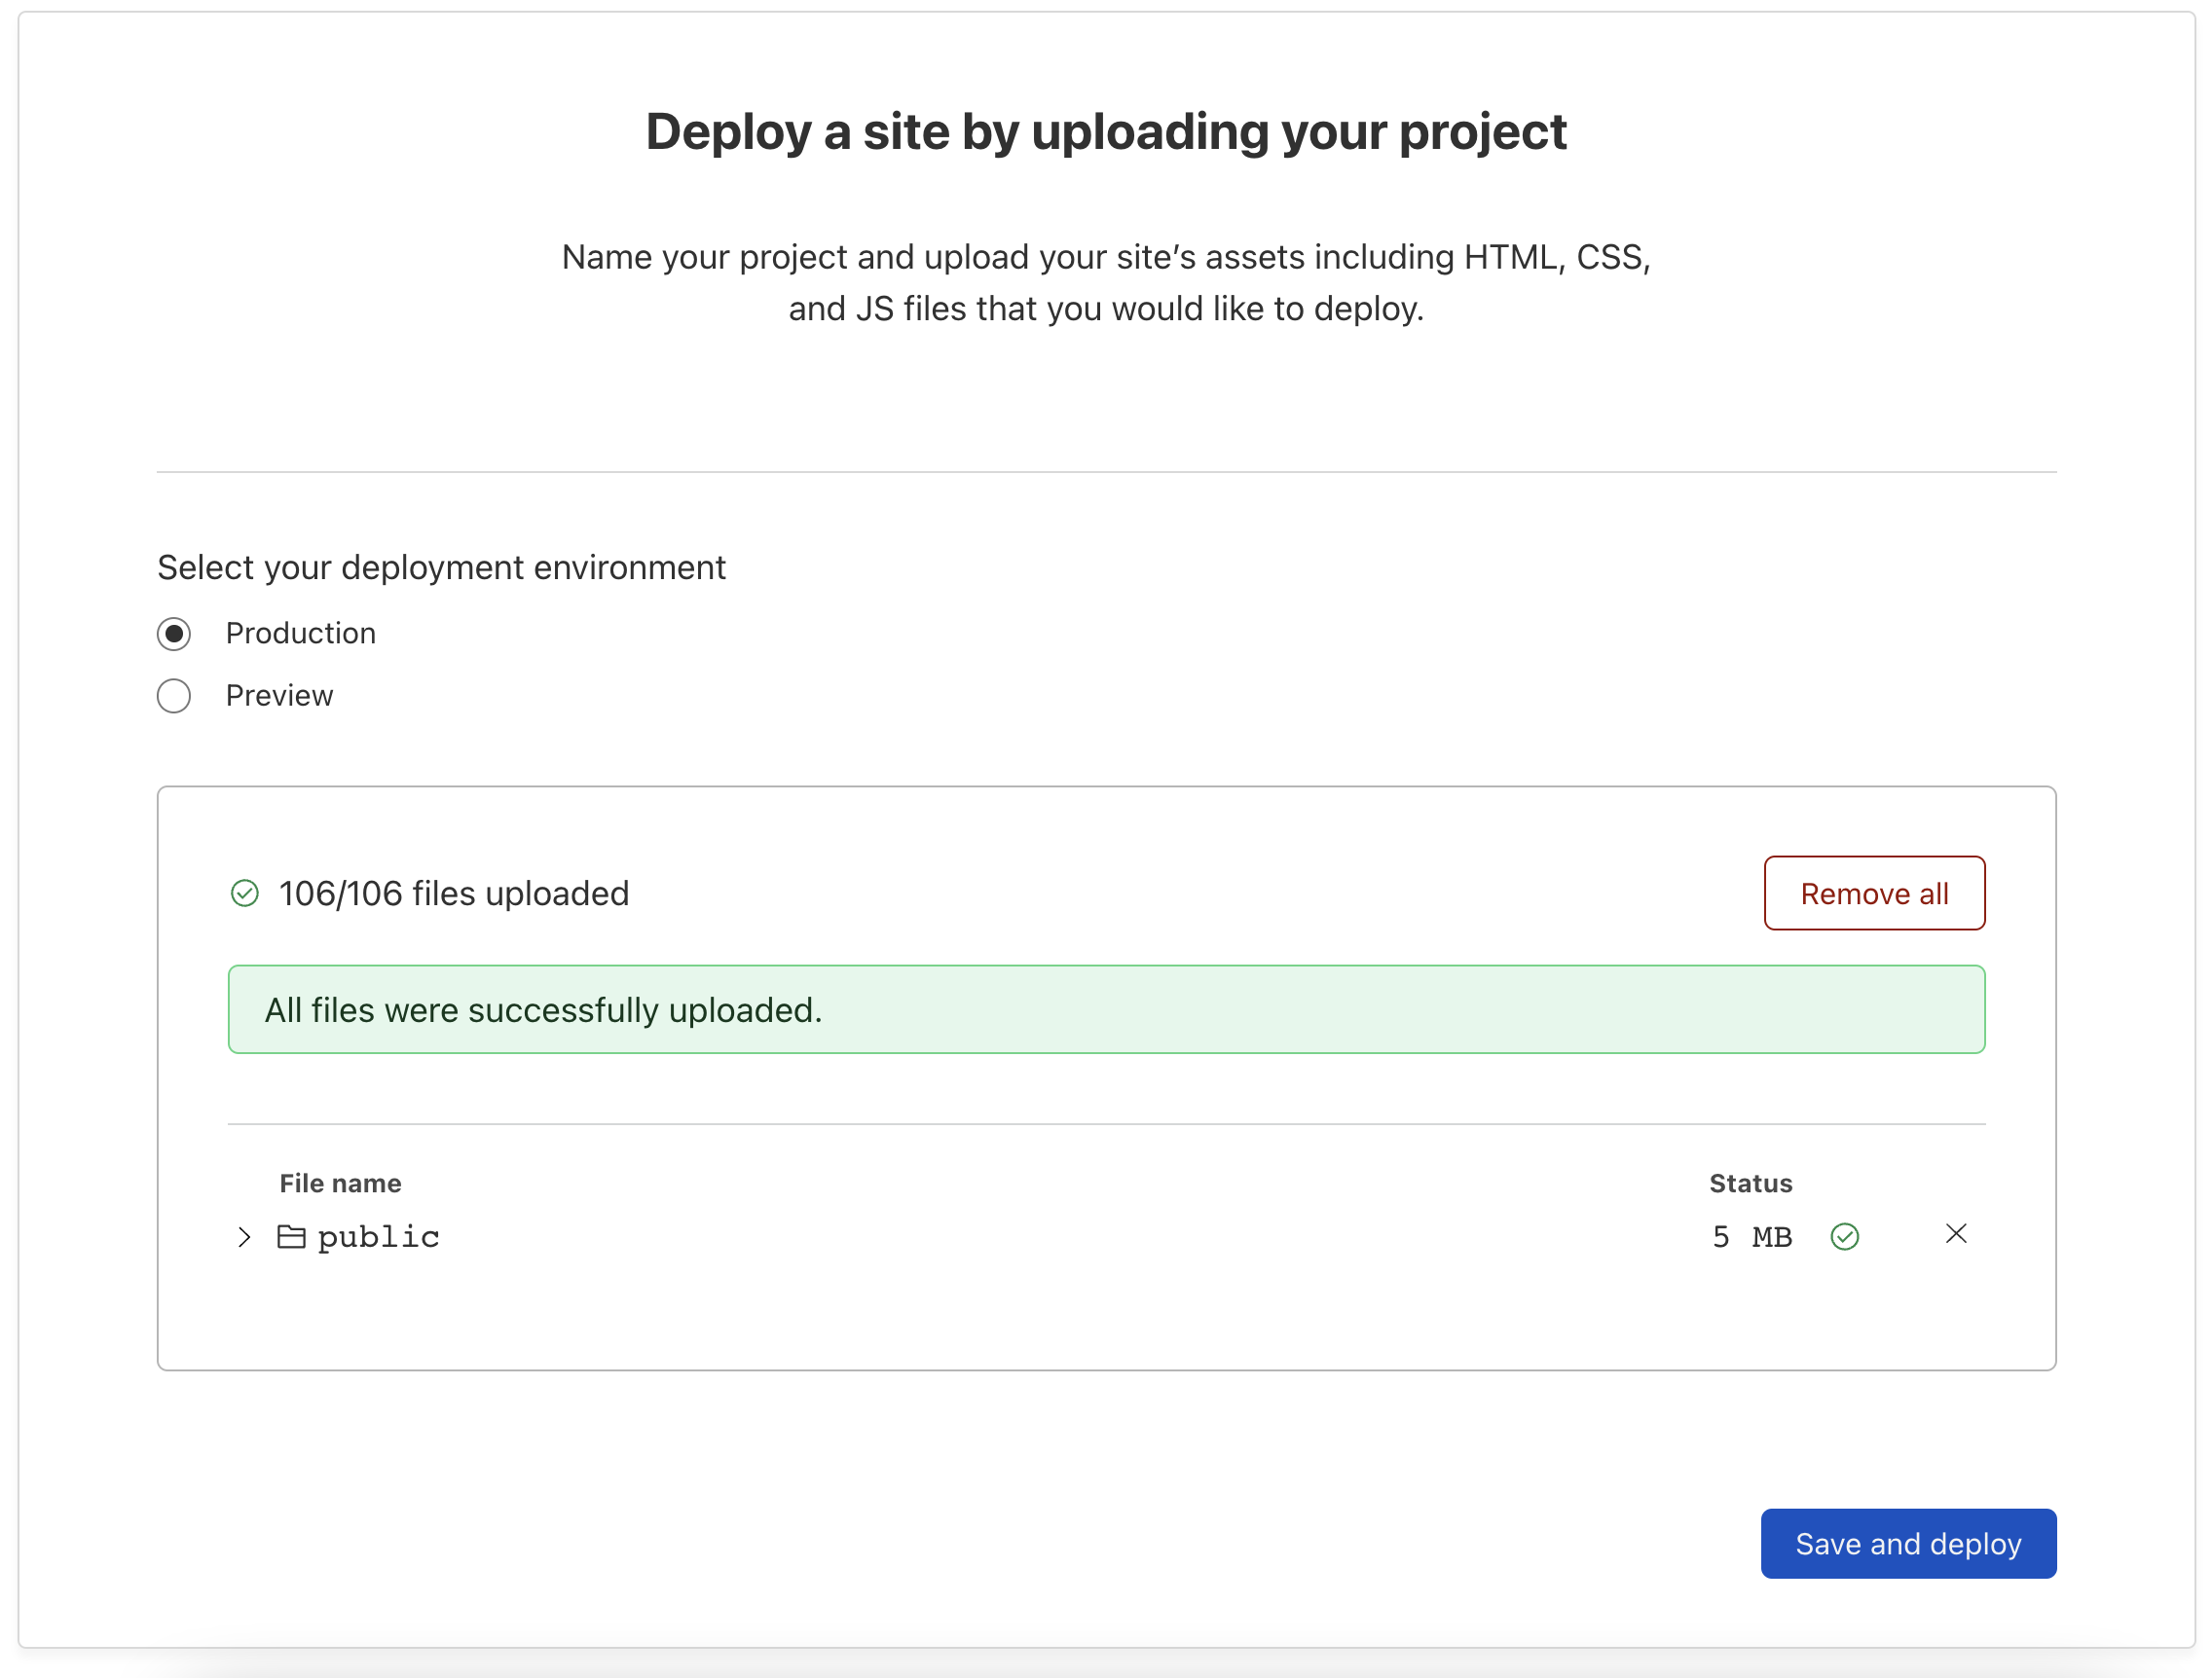
Click “Save and deploy”, and you should be able to view your live site right away. Easy! You can make a new deployment every time you want to update your live site, and if you ever want to go back to a previous deployment, it’s easy to do so. Just click on the 3 dots next to the deployment, and click “Rollback to this deployment.”
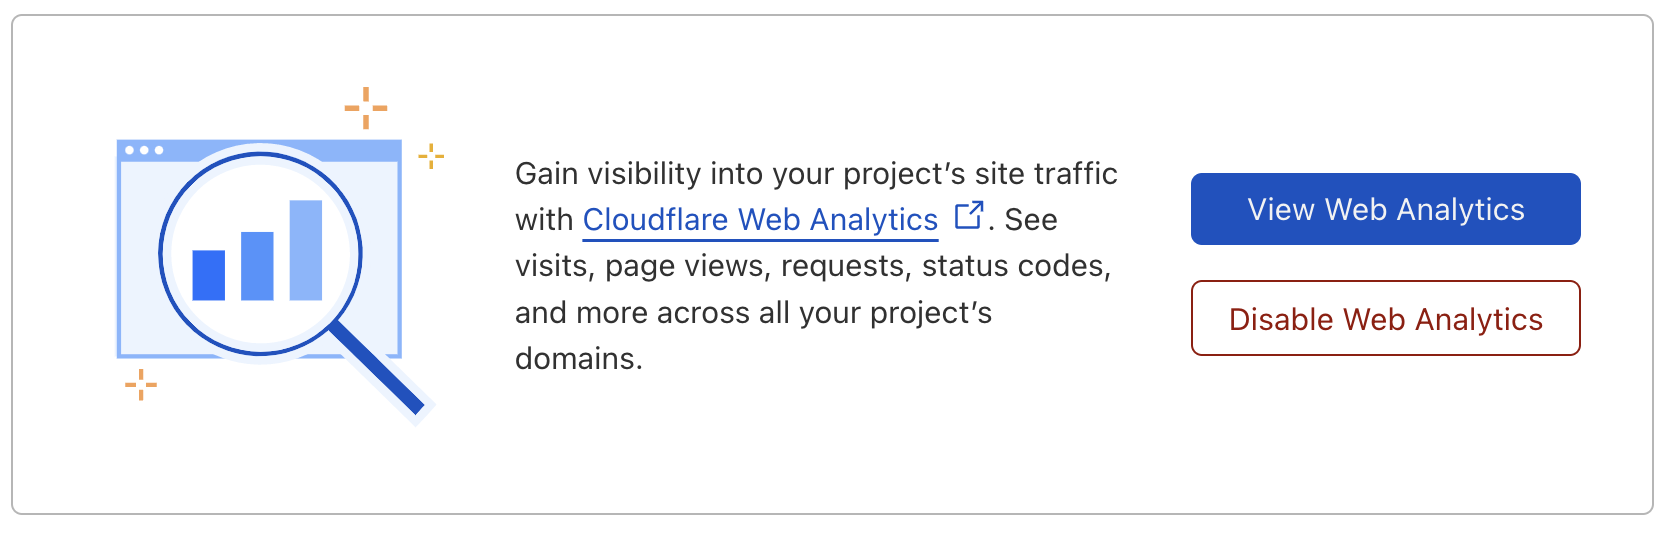
Enable web analytics in your settings:
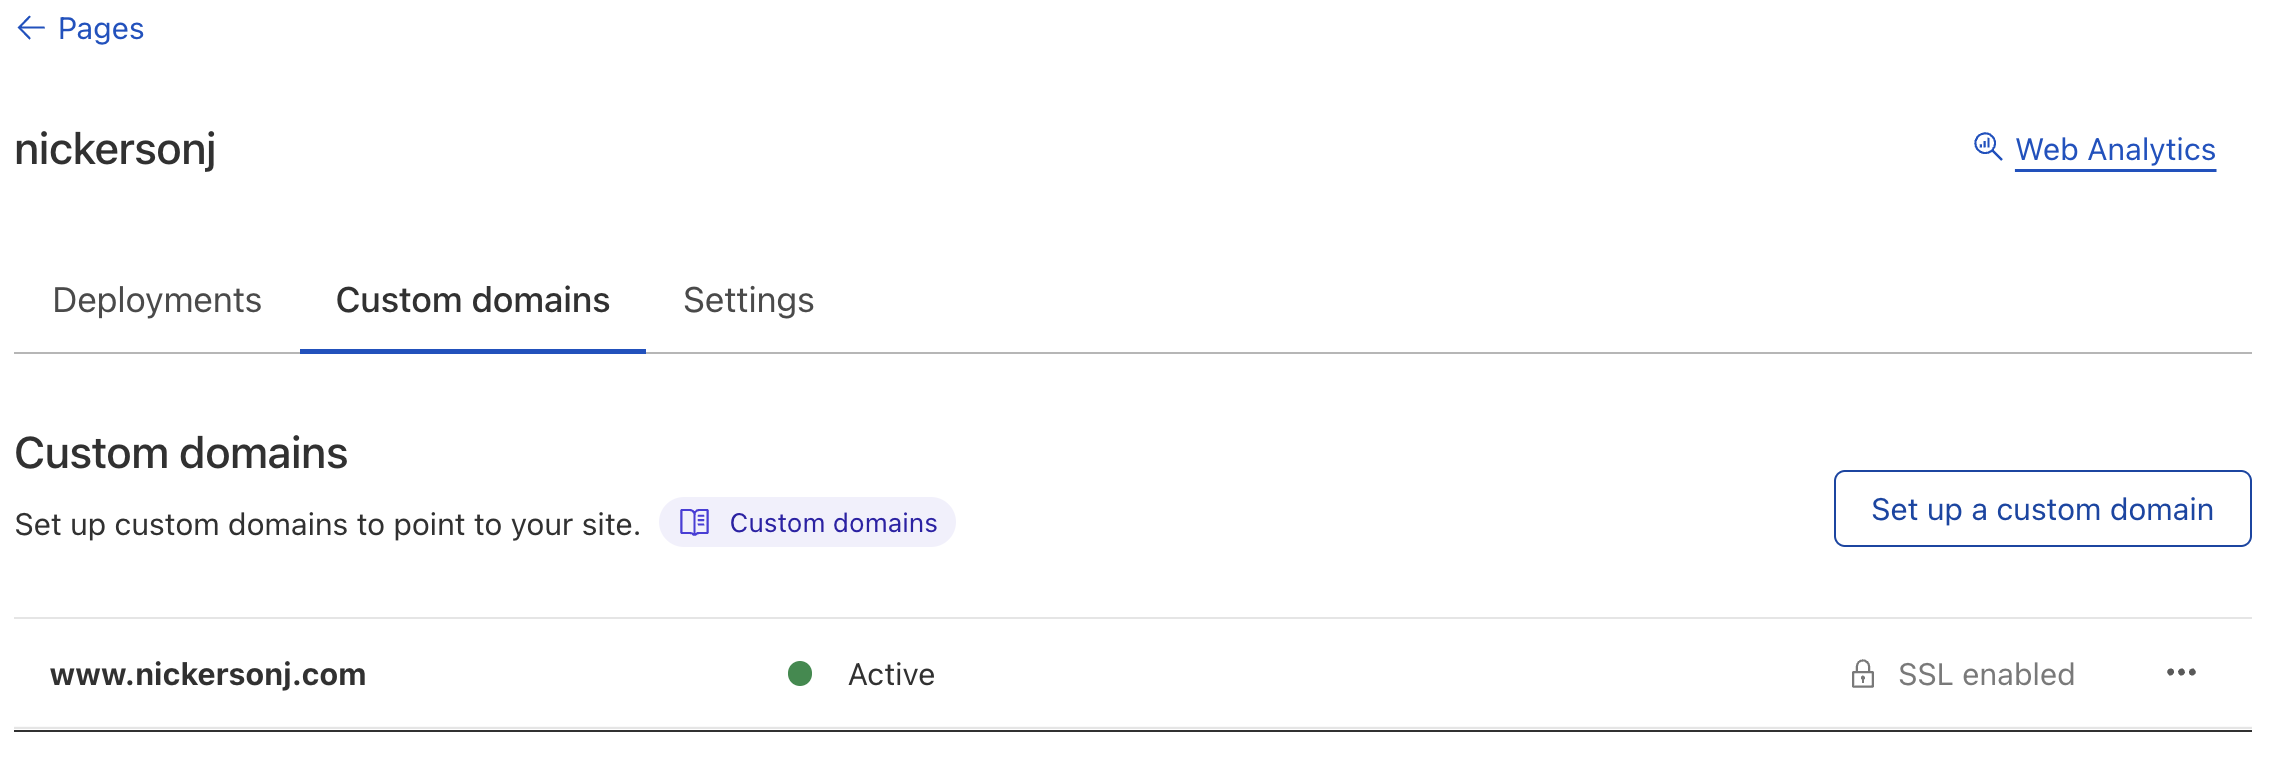
Add a custom domain if you have one:
And that’s it. Your site is fully built and hosted, ready to share with others.
Finishing Touches
Forward the non-www version of your site to the www version. If you use Google Domains, go to the domain’s settings and click on “Website” and then “Edit forwarding.” Here are my settings:
- From: nickersonj.com
- Forward to: https://www.nickersonj.com
- Redirect type: Permanent redirect (301)
- Path forwarding: Forward path
- SSL: On
Give it at least 30 minutes to take effect.
Add your website to Uptime Robot so that you get alerts when your site is down. Create an account or log in to your existing account on Uptime Robot, and click on “+ Add New Monitor”:
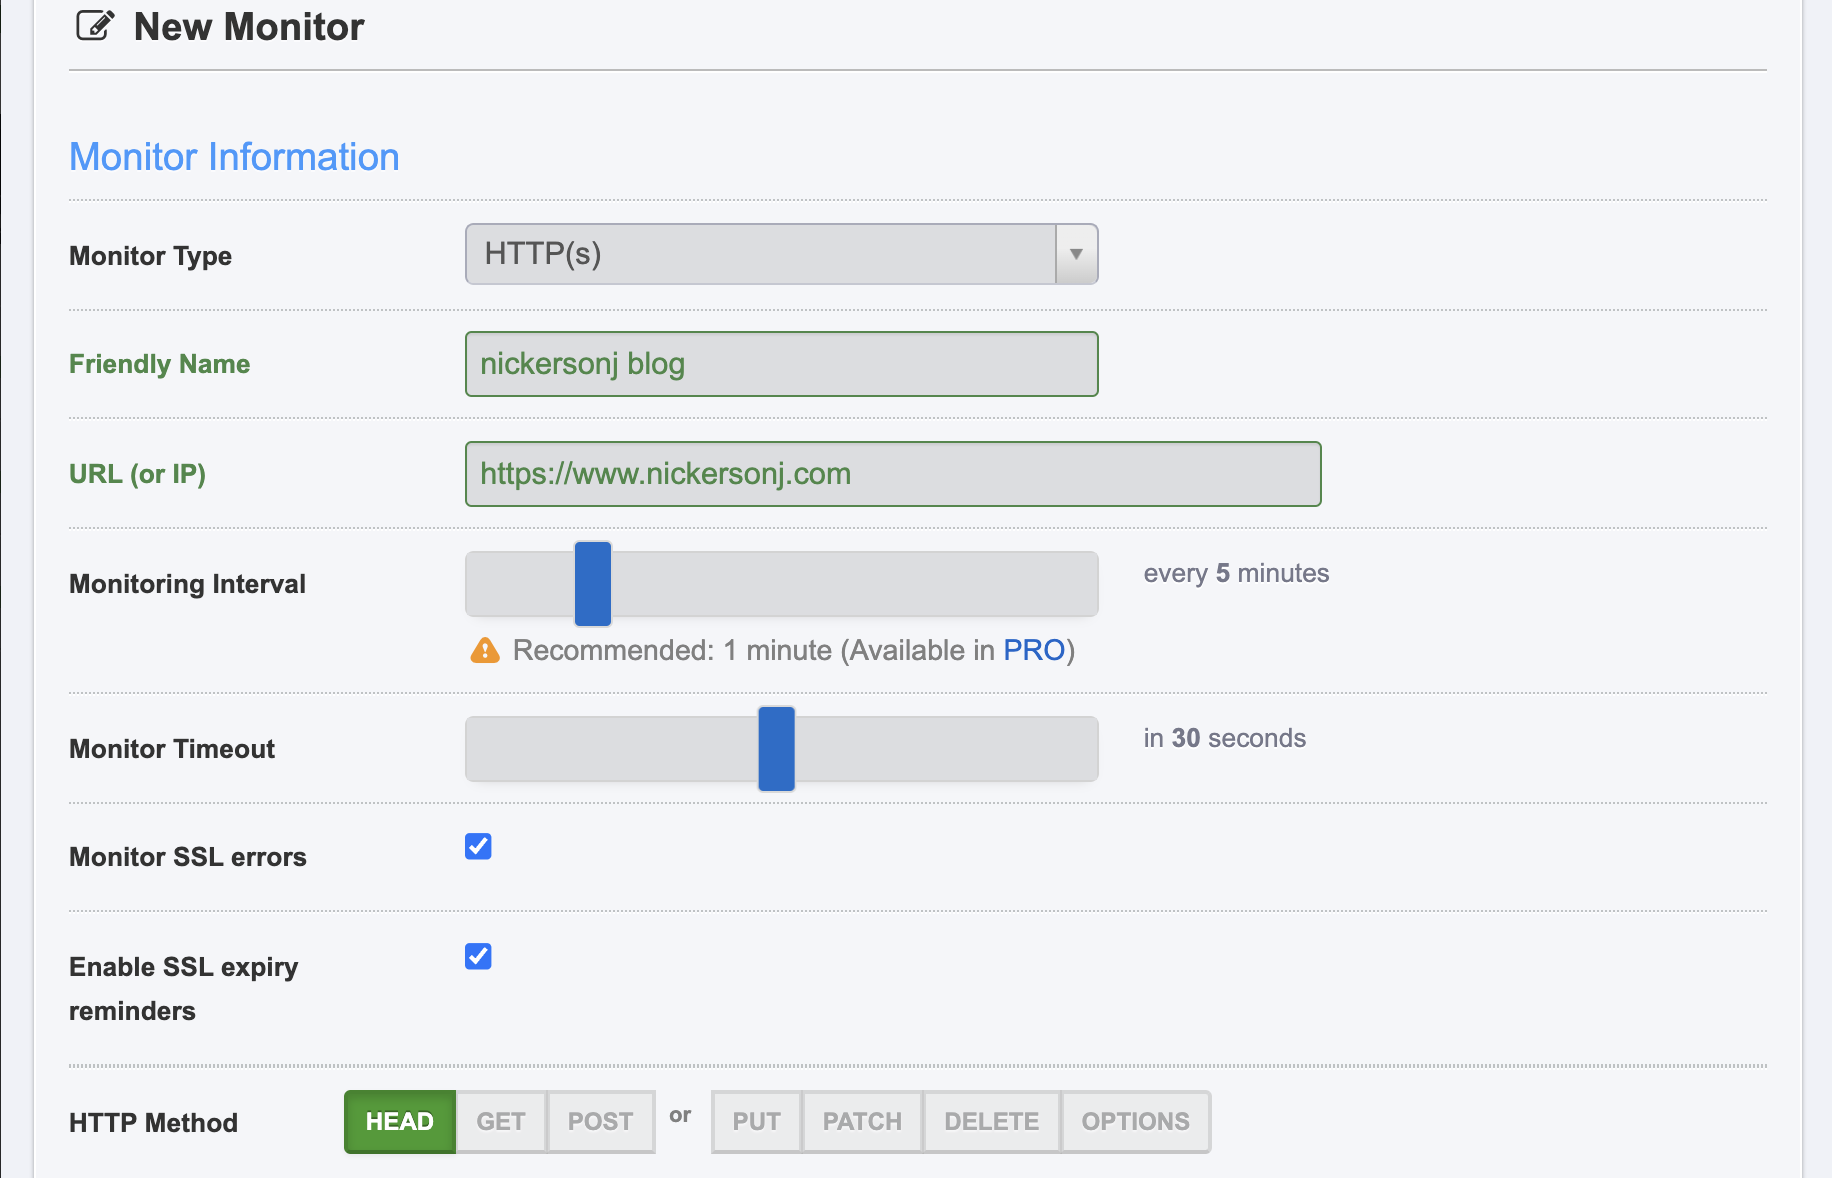
In the dialog that pops up, here are the options I use:
- Monitor Type: HTTP(s)
- Friendly Name: nickersonj blog
- URL (or IP): https://www.nickersonj.com
- Monitoring Interval: every 5 minutes
- Monitor Timeout: in 30 seconds
- Monitor SSL errors: checked
- Enable SSL expiry: checked
- HTTP Method: HEAD
Then add your email address to the “Alerts Contacts To Notify” section. Make sure it’s an email address that isn’t hosted on the same server as your website; otherwise, both would be down at the same time and you may not get notified.
Set up Google Search Console by adding your domain as a new property at Search Console. This will allow you to see which pages are indexed by Google. You can also submit updated sitemaps and check your Core Web Vitals. Once you’ve added your domain and submitted your sitemap, it could take a week before your brand new site starts showing data on Search Console.
By default, Hugo generates sitemap.xml in your public folder. In the config.toml file, you can specify how frequently your page is likely to change, e.g.:
[sitemap]
  changefreq = 'monthly'
  filename = 'sitemap.xml'
  priority = 0.5
And we’re done! I hope you found this to be useful while setting up your new blog. Thanks for reading!
Resources
- Hugo’s Quick Start guide
- nbconvert: Documentation and Github
- Cloudflare Pages documentation